Developing Custom Tools
Tool Definition
Tools can extend the capabilities of the Monkeys platform. Some common tools include:
- LLM: Provides large language model conversation capabilities
- Knowledge Base: Provides knowledge base Q&A capabilities for LLM
- Custom Code: Provides the ability to run custom code
- Translation: Provides translation capabilities
- Speech Recognition: Provides speech recognition capabilities
- Image Generation: Provides image generation capabilities
- Automation for social platforms like Xiaohongshu, Twitter, Instagram, Weibo, etc.
Any service that can be called via API can be integrated as a tool into the Monkeys platform.
How to Develop a Custom Tool
As mentioned above, a tool is essentially a callable API that adheres to the Swagger standard. Besides writing the HTTP interface, no other prerequisites are required.
You can use any programming language to develop your tool.
In general, developing a tool involves the following steps:
- Define your tool using JSON.
- Write the HTTP interface to implement your tool’s logic.
- Deploy your tool.
- Add your tool to the Monkeys platform.
Example: Developing a Weather Tool using Python
Initialize Python Virtual Environment
Create a venv environment and activate it:
mkdir monkey-tools-my-awesome-weather-toolpython -m venv venvsource venv/bin/activateInstall Dependencies
Here we use the flask framework and flask_restx to build a standard Swagger API. You can use any other framework you prefer.
pip install flask flask_restx requestsAdd /manifest.json Endpoint
The manifest.json endpoint describes the basic information of your tool:
- schema_version: Current version, currently only
v1is supported - display_name: The name displayed on the Monkeys platform
- namespace: Namespace to distinguish different tools, recommended to use the
monkey_tools_prefix, such asmonkey_tools_my_awesome_weather_tool. This namespace must be globally unique. - auth:
- type: Authentication method, currently supports
noneandservice_http
- type: Authentication method, currently supports
- api:
- type: API type, currently only
openapiis supported - url: The URL of the Swagger API, can be a relative URL, such as
/swagger.json
- type: API type, currently only
- contact_email: Contact email
Example:
{ "schema_version": "v1", "display_name": "My Awesome Weather Tool", "namespace": "monkey_tools_my_awesome_weather_tool", "auth": {"type": "none"}, "api": {"type": "openapi", "url": "/swagger.json"}, "contact_email": "dev@inf-monkeys.com",}In Flask, simply add the following code to main.py:
from flask import Flask, request, jsonifyfrom flask_restx import Api, Resource, fieldsimport traceback
app = Flask(__name__)api = Api(    app,    version="1.0",    title="Monkeys Weather API",    description="Monkeys Weather API",)
@app.errorhandler(Exception)def handle_exception(error):    traceback.print_exc()    response = {"message": str(error)}    response["code"] = 500    print("response", response)    return jsonify(response), response["code"]
@app.get("/manifest.json")def get_manifest():    return {        "schema_version": "v1",        "display_name": "My Awesome Weather Tool",        "namespace": "monkey_tools_my_awesome_weather_tool",        "auth": {"type": "none"},        "api": {"type": "openapi", "url": "/swagger.json"},        "contact_email": "dev@inf-monkeys.com",    }
if __name__ == '__main__':    app.run(host='0.0.0.0', port=5000)
Run the command:
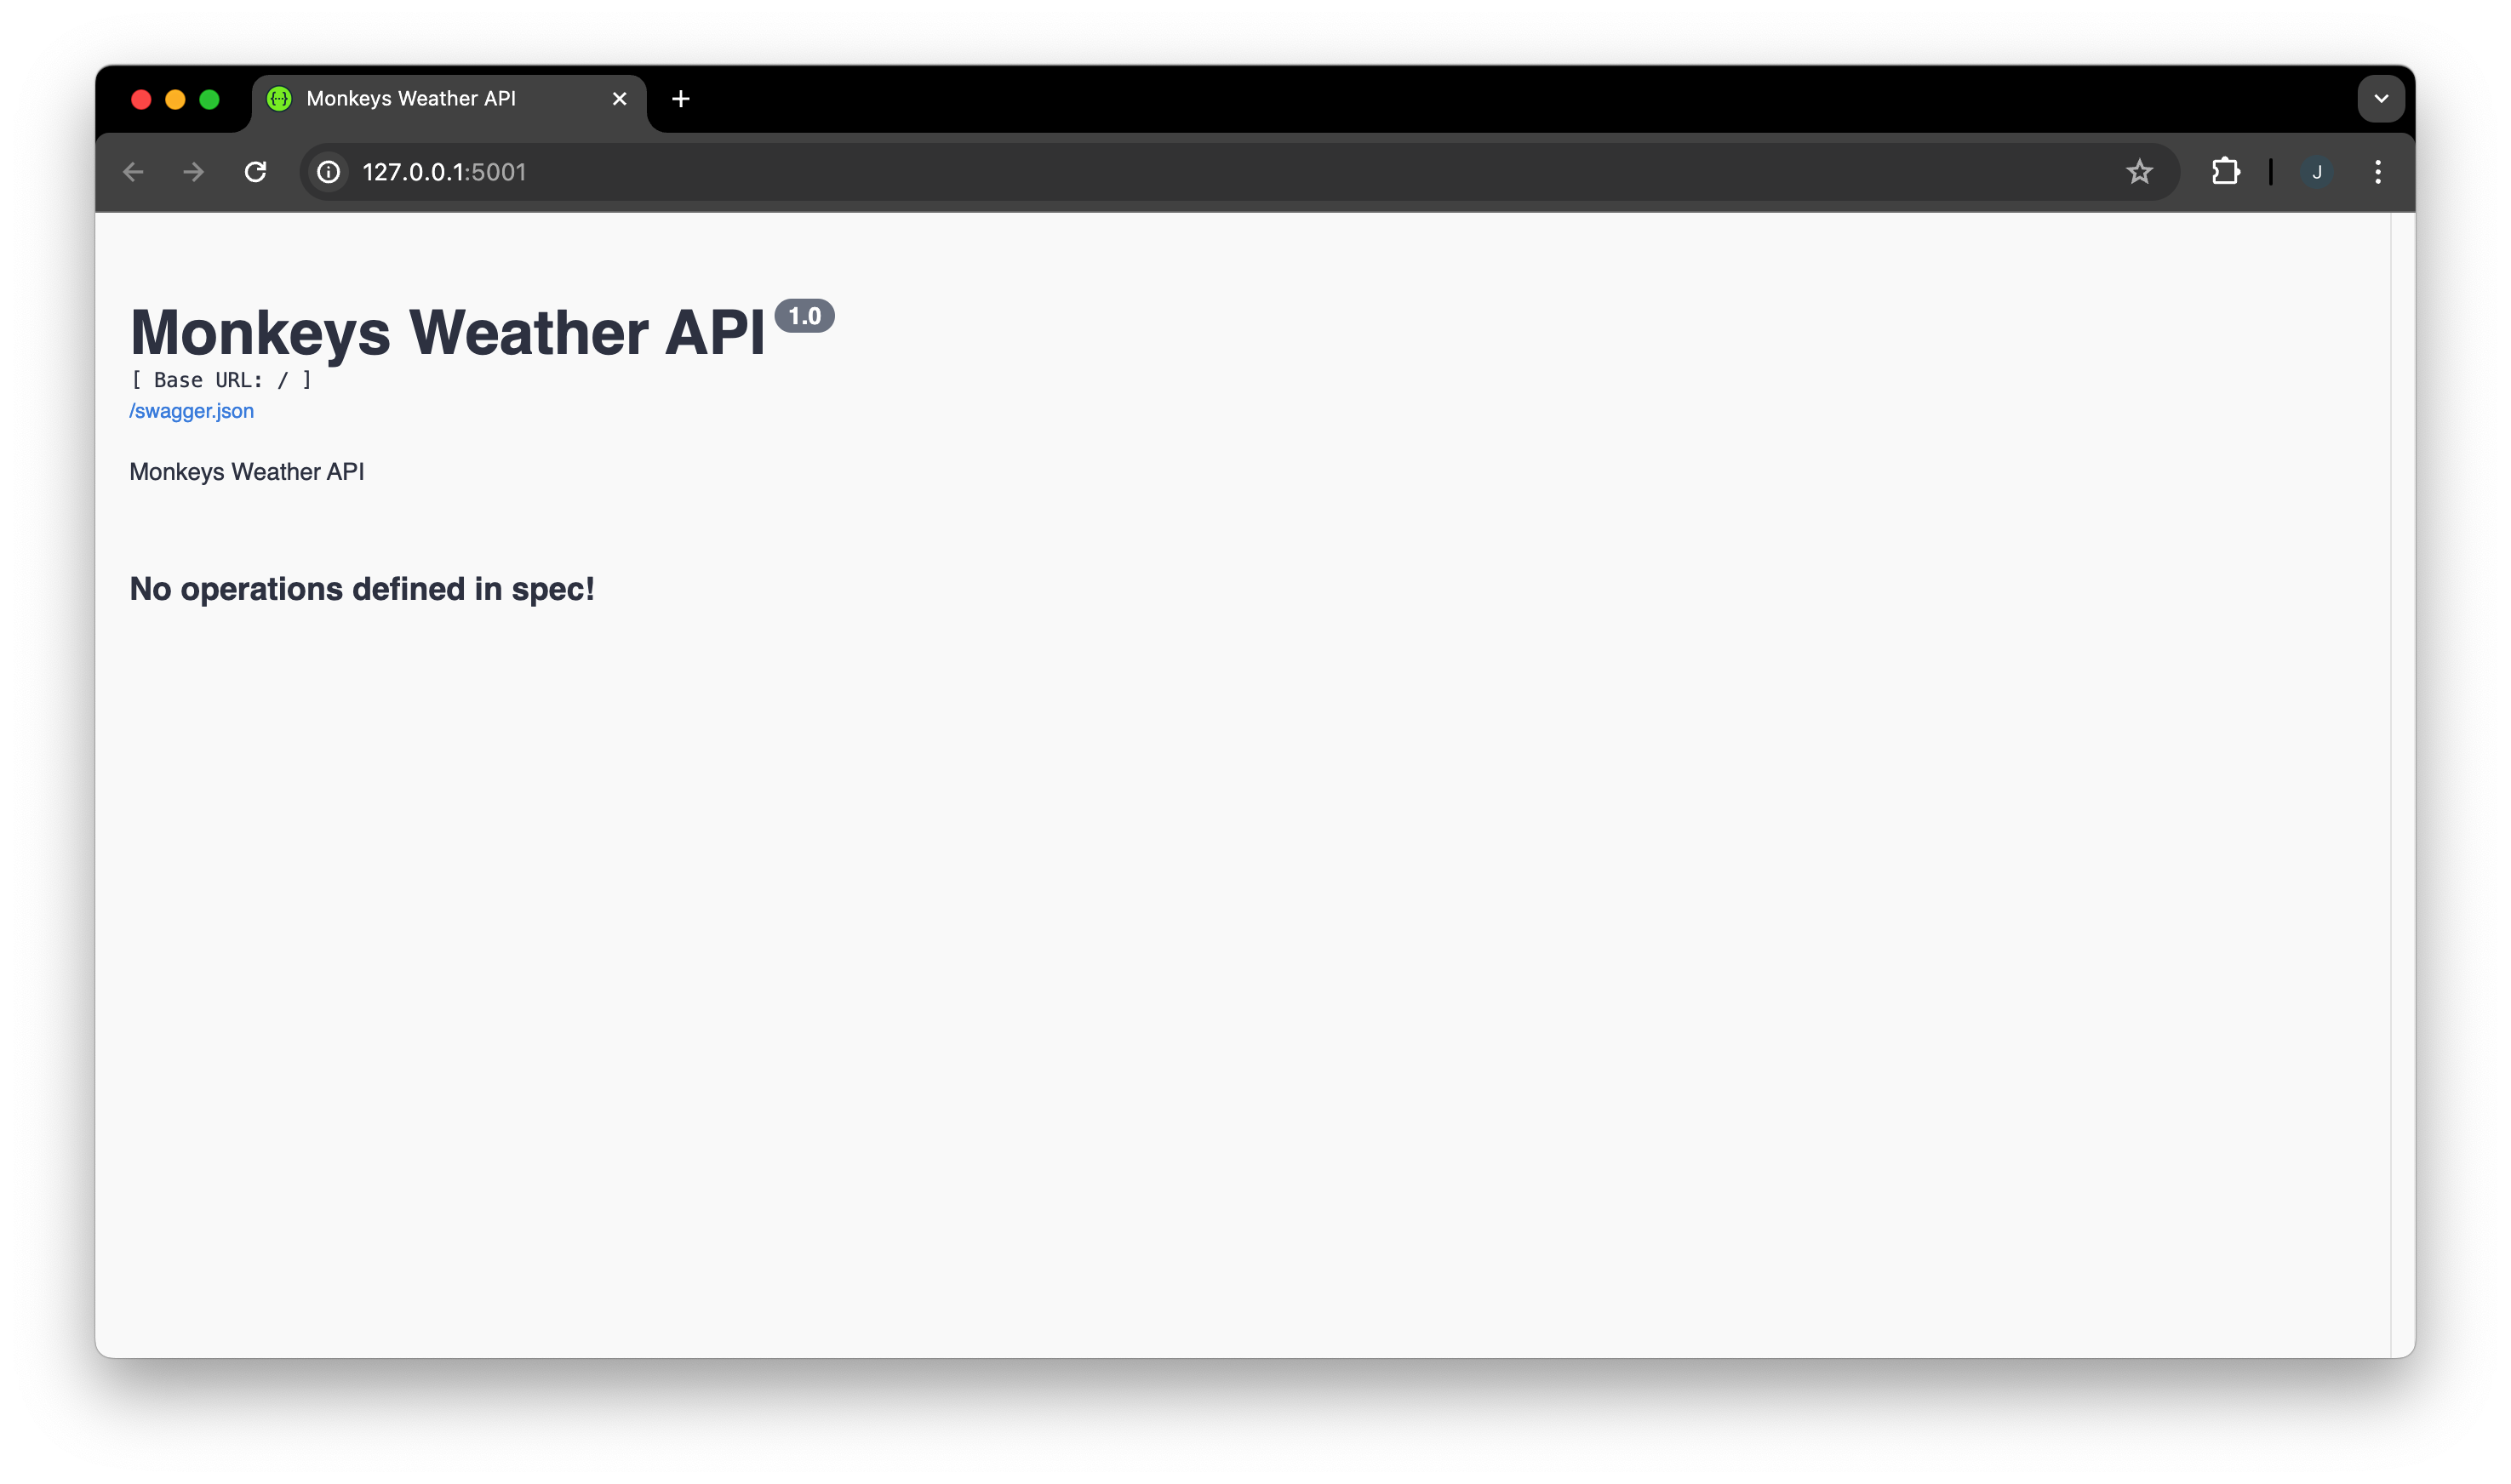
python main.pyYou can then access http://localhost:5000 in your browser to see the automatically generated Swagger API documentation, although it doesn’t contain any endpoints yet. Next, we’ll add the actual weather lookup endpoint.
Add Weather Lookup Endpoint
Here we use https://open-meteo.com/ as the weather lookup API.
Note the following in the code:
@weather_ns.vendorannotation, which is an extension for the Monkeys platform to describe detailed information about the tool, such as input, output, estimated time, etc.@weather_ns.expectannotation, which describes the input parameters@weather_ns.responseannotation, which describes the output parameters
import requestsweather_ns = api.namespace("weather", description="Weather API")
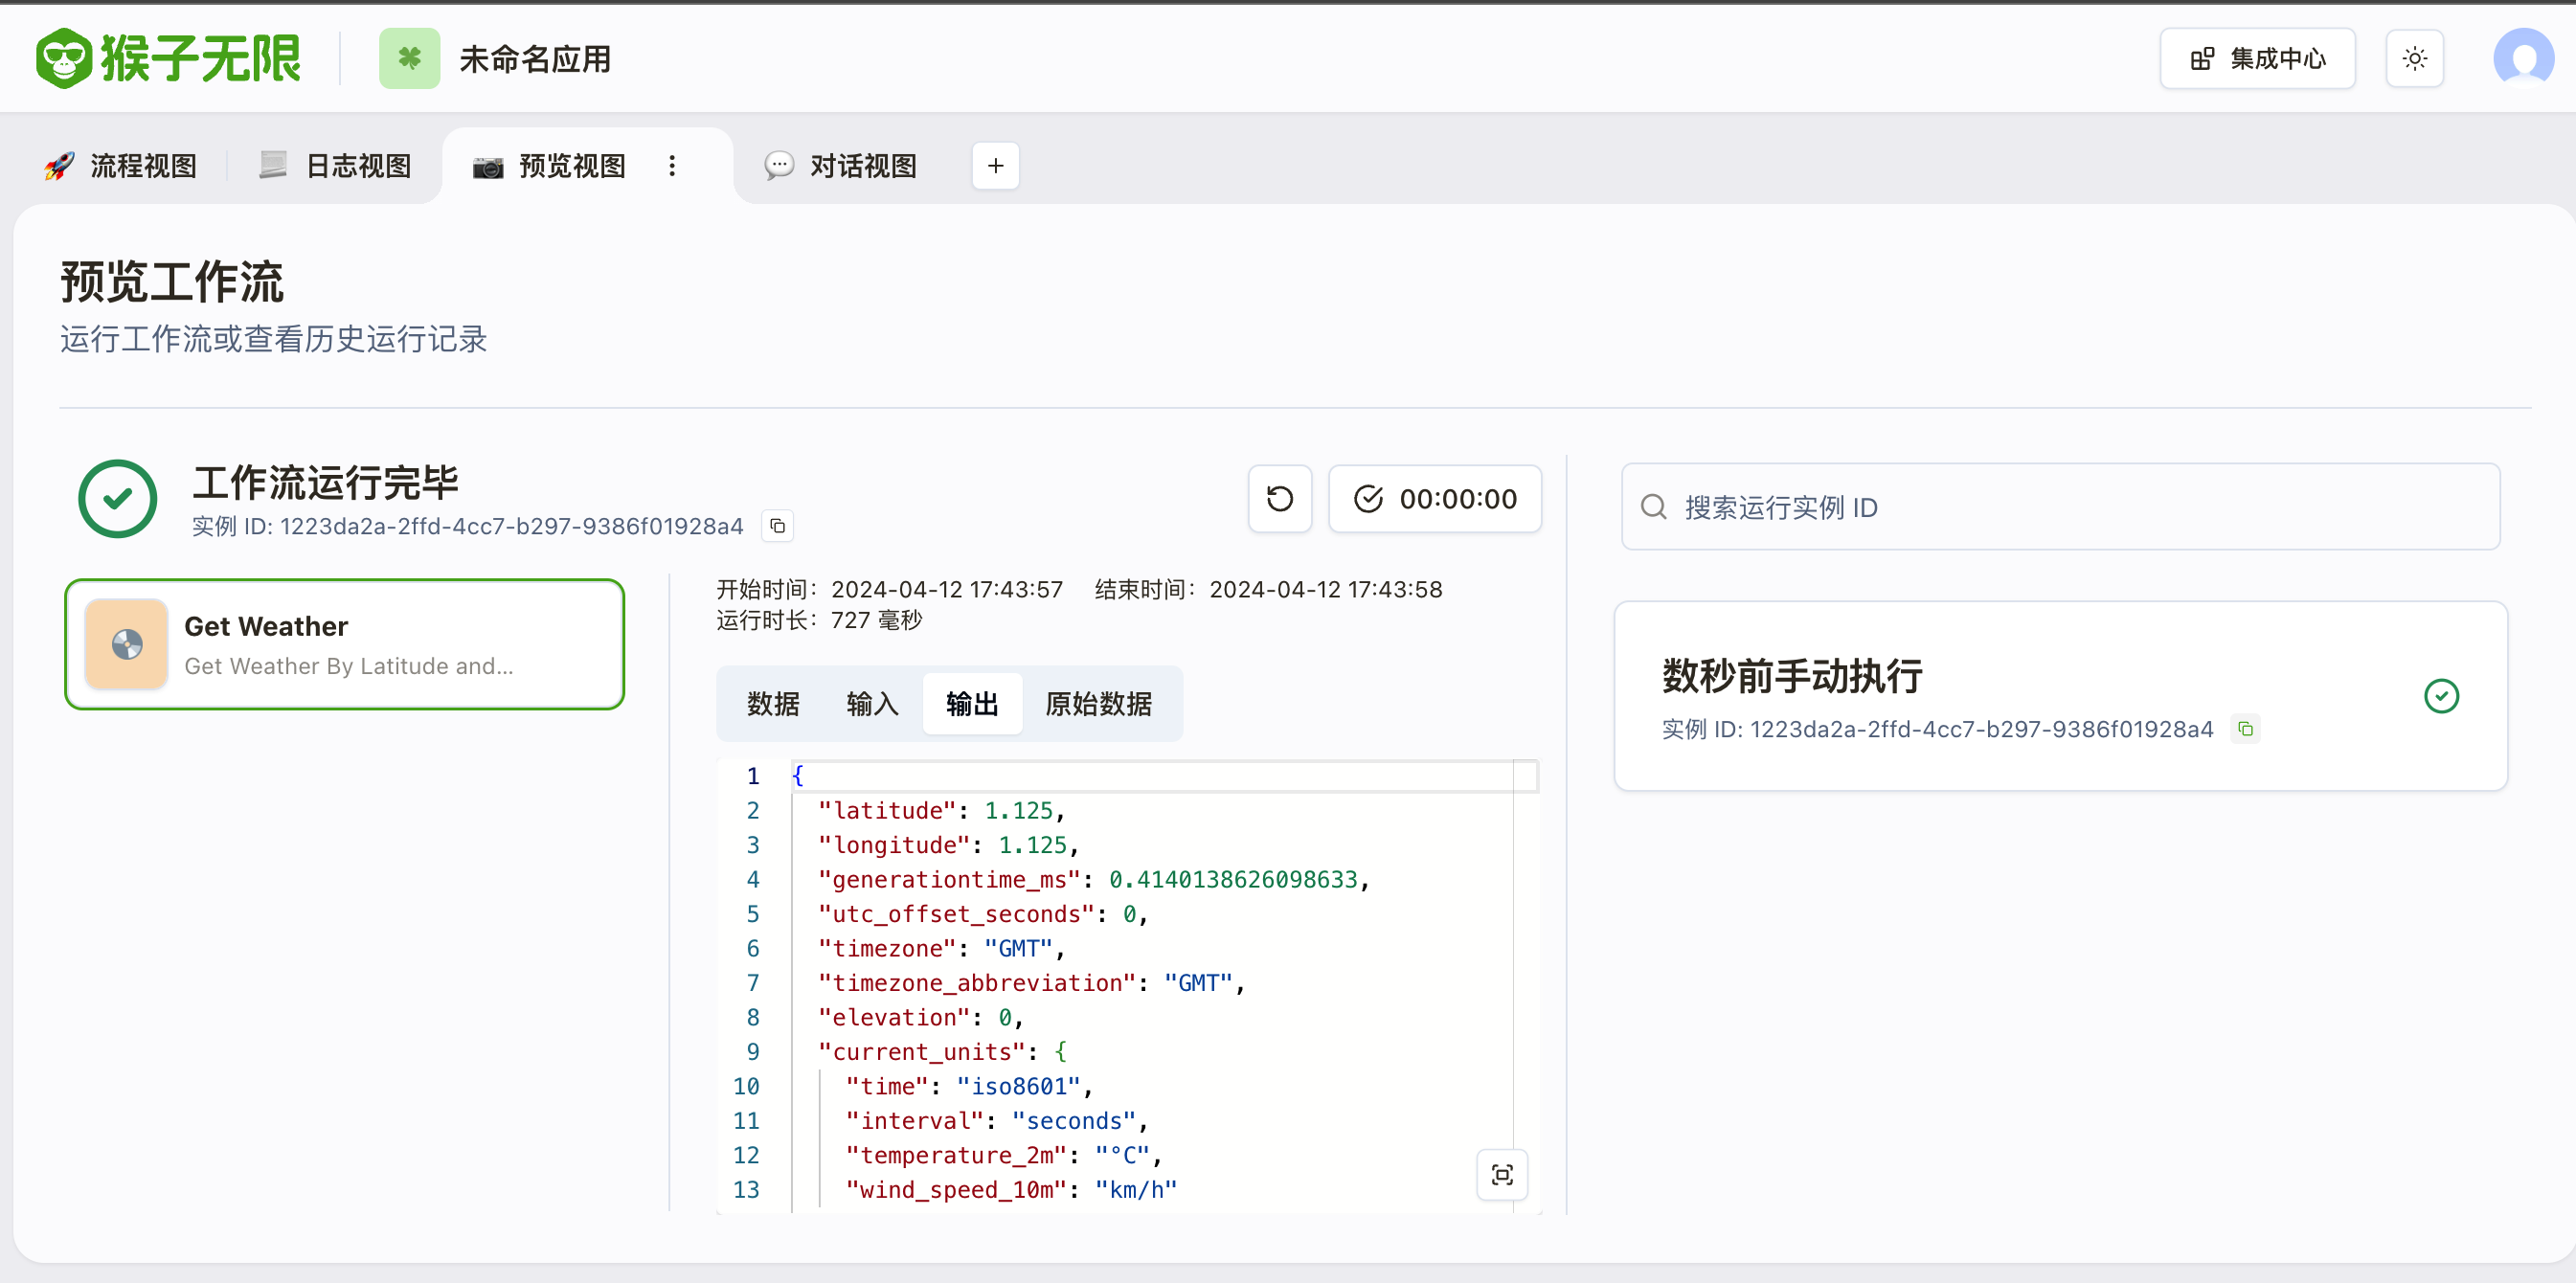
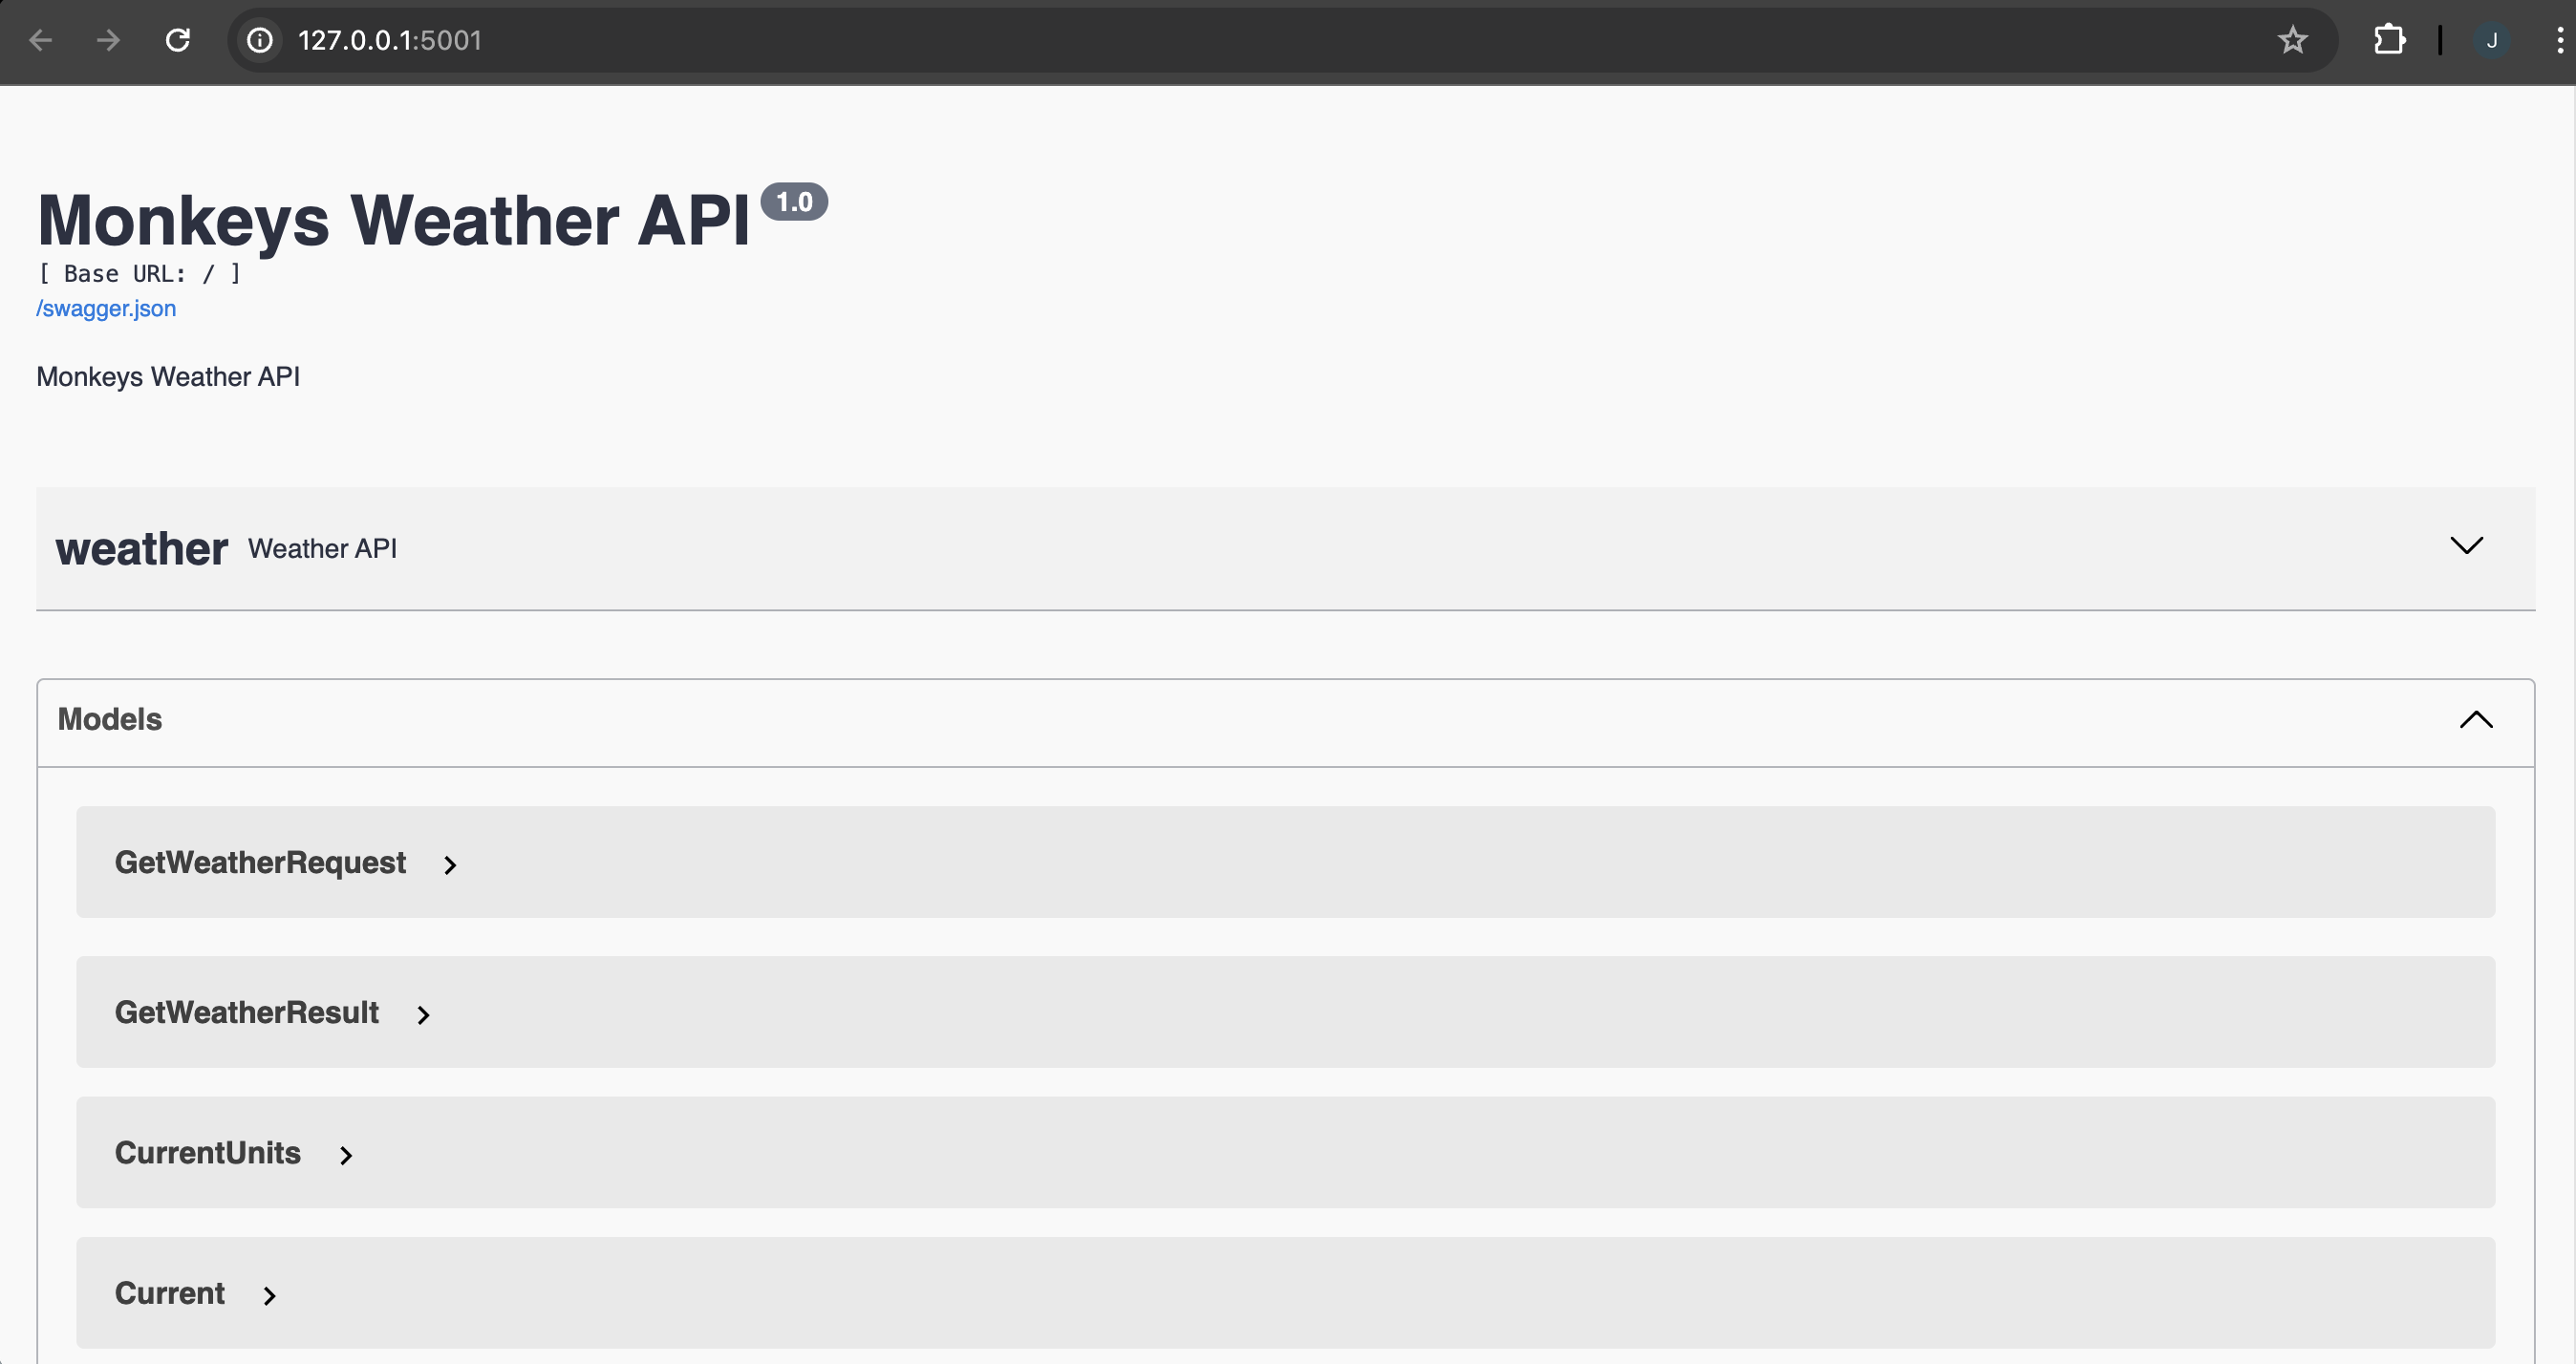
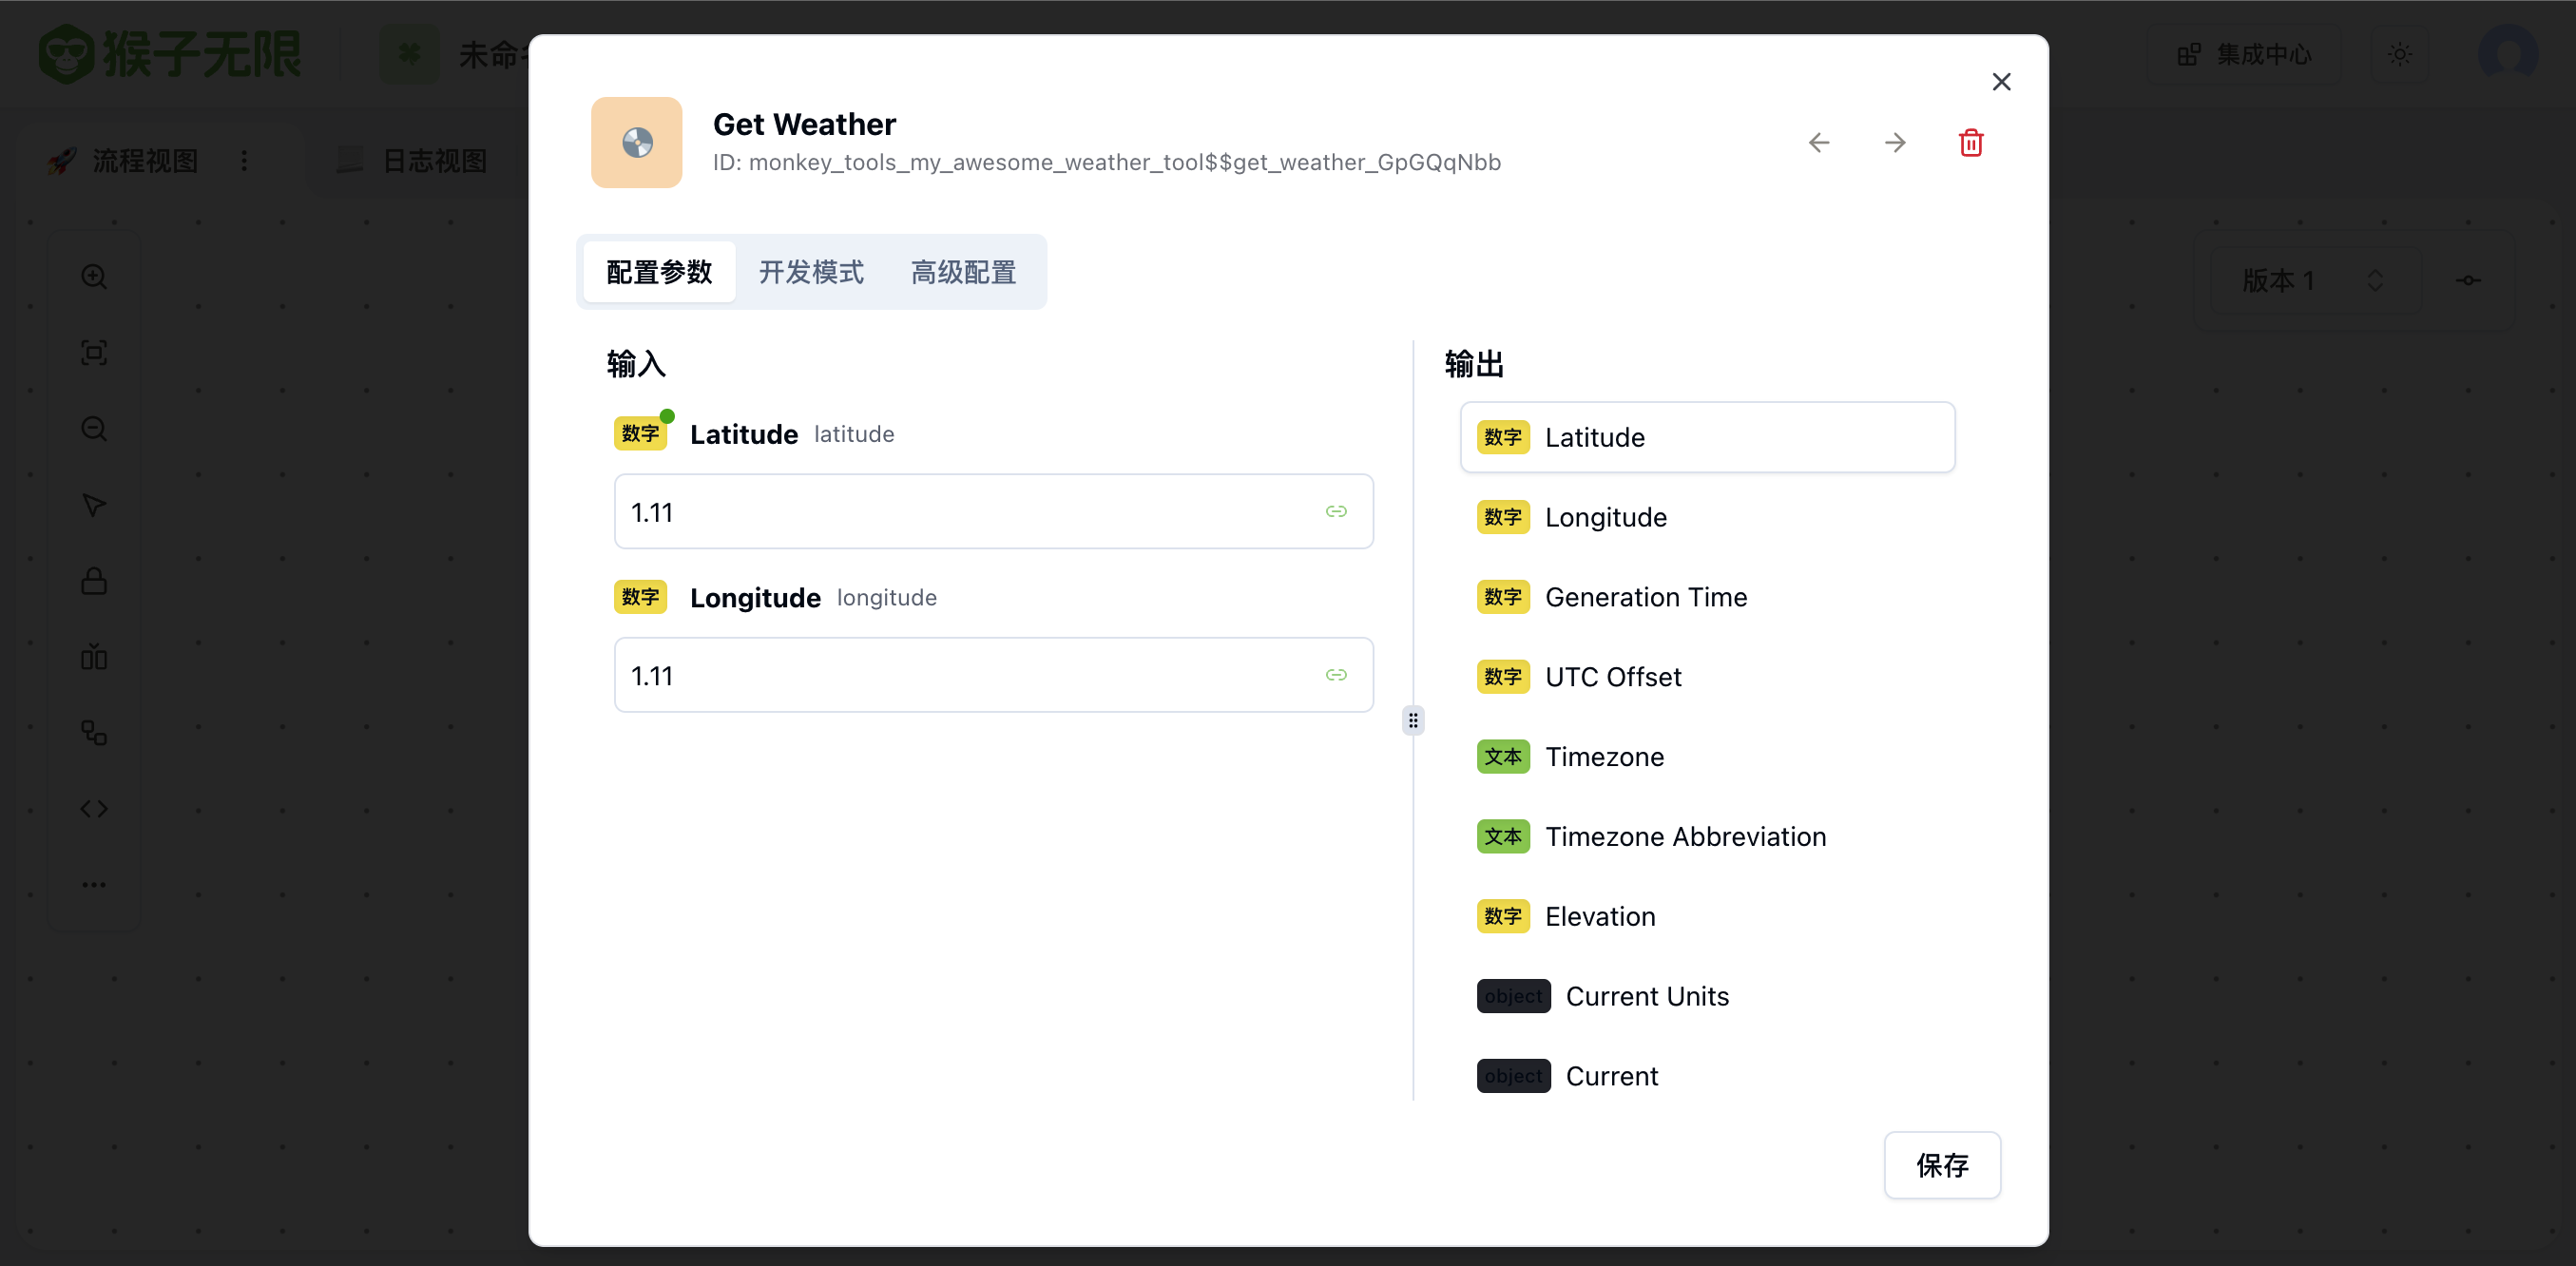
@weather_ns.route("/")class WeatherLookUpResource(Resource): @weather_ns.doc("get_weather") @weather_ns.vendor( { "x-monkey-tool-name": "get_weather", "x-monkey-tool-categories": ["weather"], "x-monkey-tool-display-name": "Get Weather", "x-monkey-tool-description": "Get Weather By Latitude and Longitude", "x-monkey-tool-icon": "emoji:💿:#e58c3a", "x-monkey-tool-input": [ { "displayName": "Latitude", "name": "latitude", "type": "number", "required": True, }, { "displayName": "Longitude", "name": "longitude", "type": "number", "required": True, } ], "x-monkey-tool-output": [ { "displayName": "Latitude", "name": "latitude", "type": "number", }, { "displayName": "Longitude", "name": "longitude", "type": "number", }, { "displayName": "Generation Time", "name": "generationtime_ms", "type": "number", }, { "displayName": "UTC Offset", "name": "utc_offset_seconds", "type": "number", }, { "displayName": "Timezone", "name": "timezone", "type": "string", }, { "displayName": "Timezone Abbreviation", "name": "timezone_abbreviation", "type": "string", }, { "displayName": "Elevation", "name": "elevation", "type": "number", }, { "displayName": "Current Units", "name": "current_units", "type": "object", }, { "displayName": "Current", "name": "current", "type": "object", }, { "displayName": "Hourly Units", "name": "hourly_units", "type": "object", }, { "displayName": "Hourly", "name": "hourly", "type": "object", } ], "x-monkey-tool-extra": { "estimateTime": 5, }, } ) @weather_ns.expect( weather_ns.model( "GetWeatherRequest", { "latitude": fields.Float(required=True, description="Latitude"), "longitude": fields.Float(required=True, description="Longitude"), }, ) ) @weather_ns.response( 200, "Success", weather_ns.model( "GetWeatherResult", { "latitude": fields.Float(description="Latitude"), "longitude": fields.Float(description="Longitude"), "generationtime_ms": fields.Float(description="Generation Time"), "utc_offset_seconds": fields.Integer(description="UTC Offset"), "timezone": fields.String(description="Timezone"), "timezone_abbreviation": fields.String(description="Timezone Abbreviation"), "elevation": fields.Float(description="Elevation"), "current_units": fields.Nested( weather_ns.model( "CurrentUnits", { "time": fields.String(description="Time"), "interval": fields.String(description="Interval"), "temperature_2m": fields.String(description="Temperature 2m"), "wind_speed_10m": fields.String(description="Wind Speed 10m"), }, ) ), "current": fields.Nested( weather_ns.model( "Current", { "time": fields.String(description="Time"), "interval": fields.Integer(description="Interval"), "temperature_2m": fields.Float(description="Temperature 2m"), "wind_speed_10m": fields.Float(description="Wind Speed 10m"), }, ) ), "hourly_units": fields.Nested( weather_ns.model( "HourlyUnits", { "time": fields.String(description="Time"), "temperature_2m": fields.String(description="Temperature 2m"), "relative_humidity_2m": fields.String(description="Relative Humidity 2m"), "wind_speed_10m": fields.String(description="Wind Speed 10m"), }, ) ), "hourly": fields.Nested( weather_ns.model( "Hourly", { "time": fields.List(fields.String, description="Time"), "temperature_2m": fields.List(fields.Float, description="Temperature 2m"), "relative_humidity_2m": fields.List(fields.Integer, description="Relative Humidity 2m"), "wind_speed_10m": fields.List(fields.Float, description="Wind Speed 10m"), }, ) ), }, ), ) def get(self): """ Example output:{ "latitude": 52.52, "longitude": 13.419998, "generationtime_ms": 0.1291036605834961, "utc_offset_seconds": 0, "timezone": "GMT", "timezone_abbreviation": "GMT", "elevation": 38.0, "current_units": { "time": "iso8601", "interval": "seconds", "temperature_2m": "°C", "wind_speed_10m": "km/h" }, "current": { "time": "2024-04-12T10:15", "interval": 900, "temperature_2m": 17.5, "wind_speed_10m": 16.4 }, "hourly_units": { "time": "iso8601", "temperature_2m": "°C", "relative_humidity_2m": "%", "wind_speed_10m": "km/h" }, "hourly": { "time": [ "2024-04-12T00:00", "2024-04-12T01:00", "2024-04-12T02:00", "2024-04-12T03:00", "2024-04-12T04:00", "2024-04-12T05:00", ], "temperature_2m": [ 13.1, 12.9, 12.6, 12.9, 12.8, 12.9, ], "relative_humidity_2m": [ 78, 80, 82, 81, 81, 81, ], "wind_speed_10m": [ 3.6, 5.9, 7.2, 7.7, 7.4, 6.4, ] }} """ json = request.json latitude = json.get("latitude") longitude = json.get("longitude") api = f"https://api.open-meteo.com/v1/forecast?latitude={latitude}&longitude={longitude}¤t=temperature_2m,wind_speed_10m&hourly=temperature_2m,relative_humidity_2m,wind_speed_10m" r = requests.get(api) return r.json()Restart the service, and you should see your endpoint added to the Swagger API documentation.
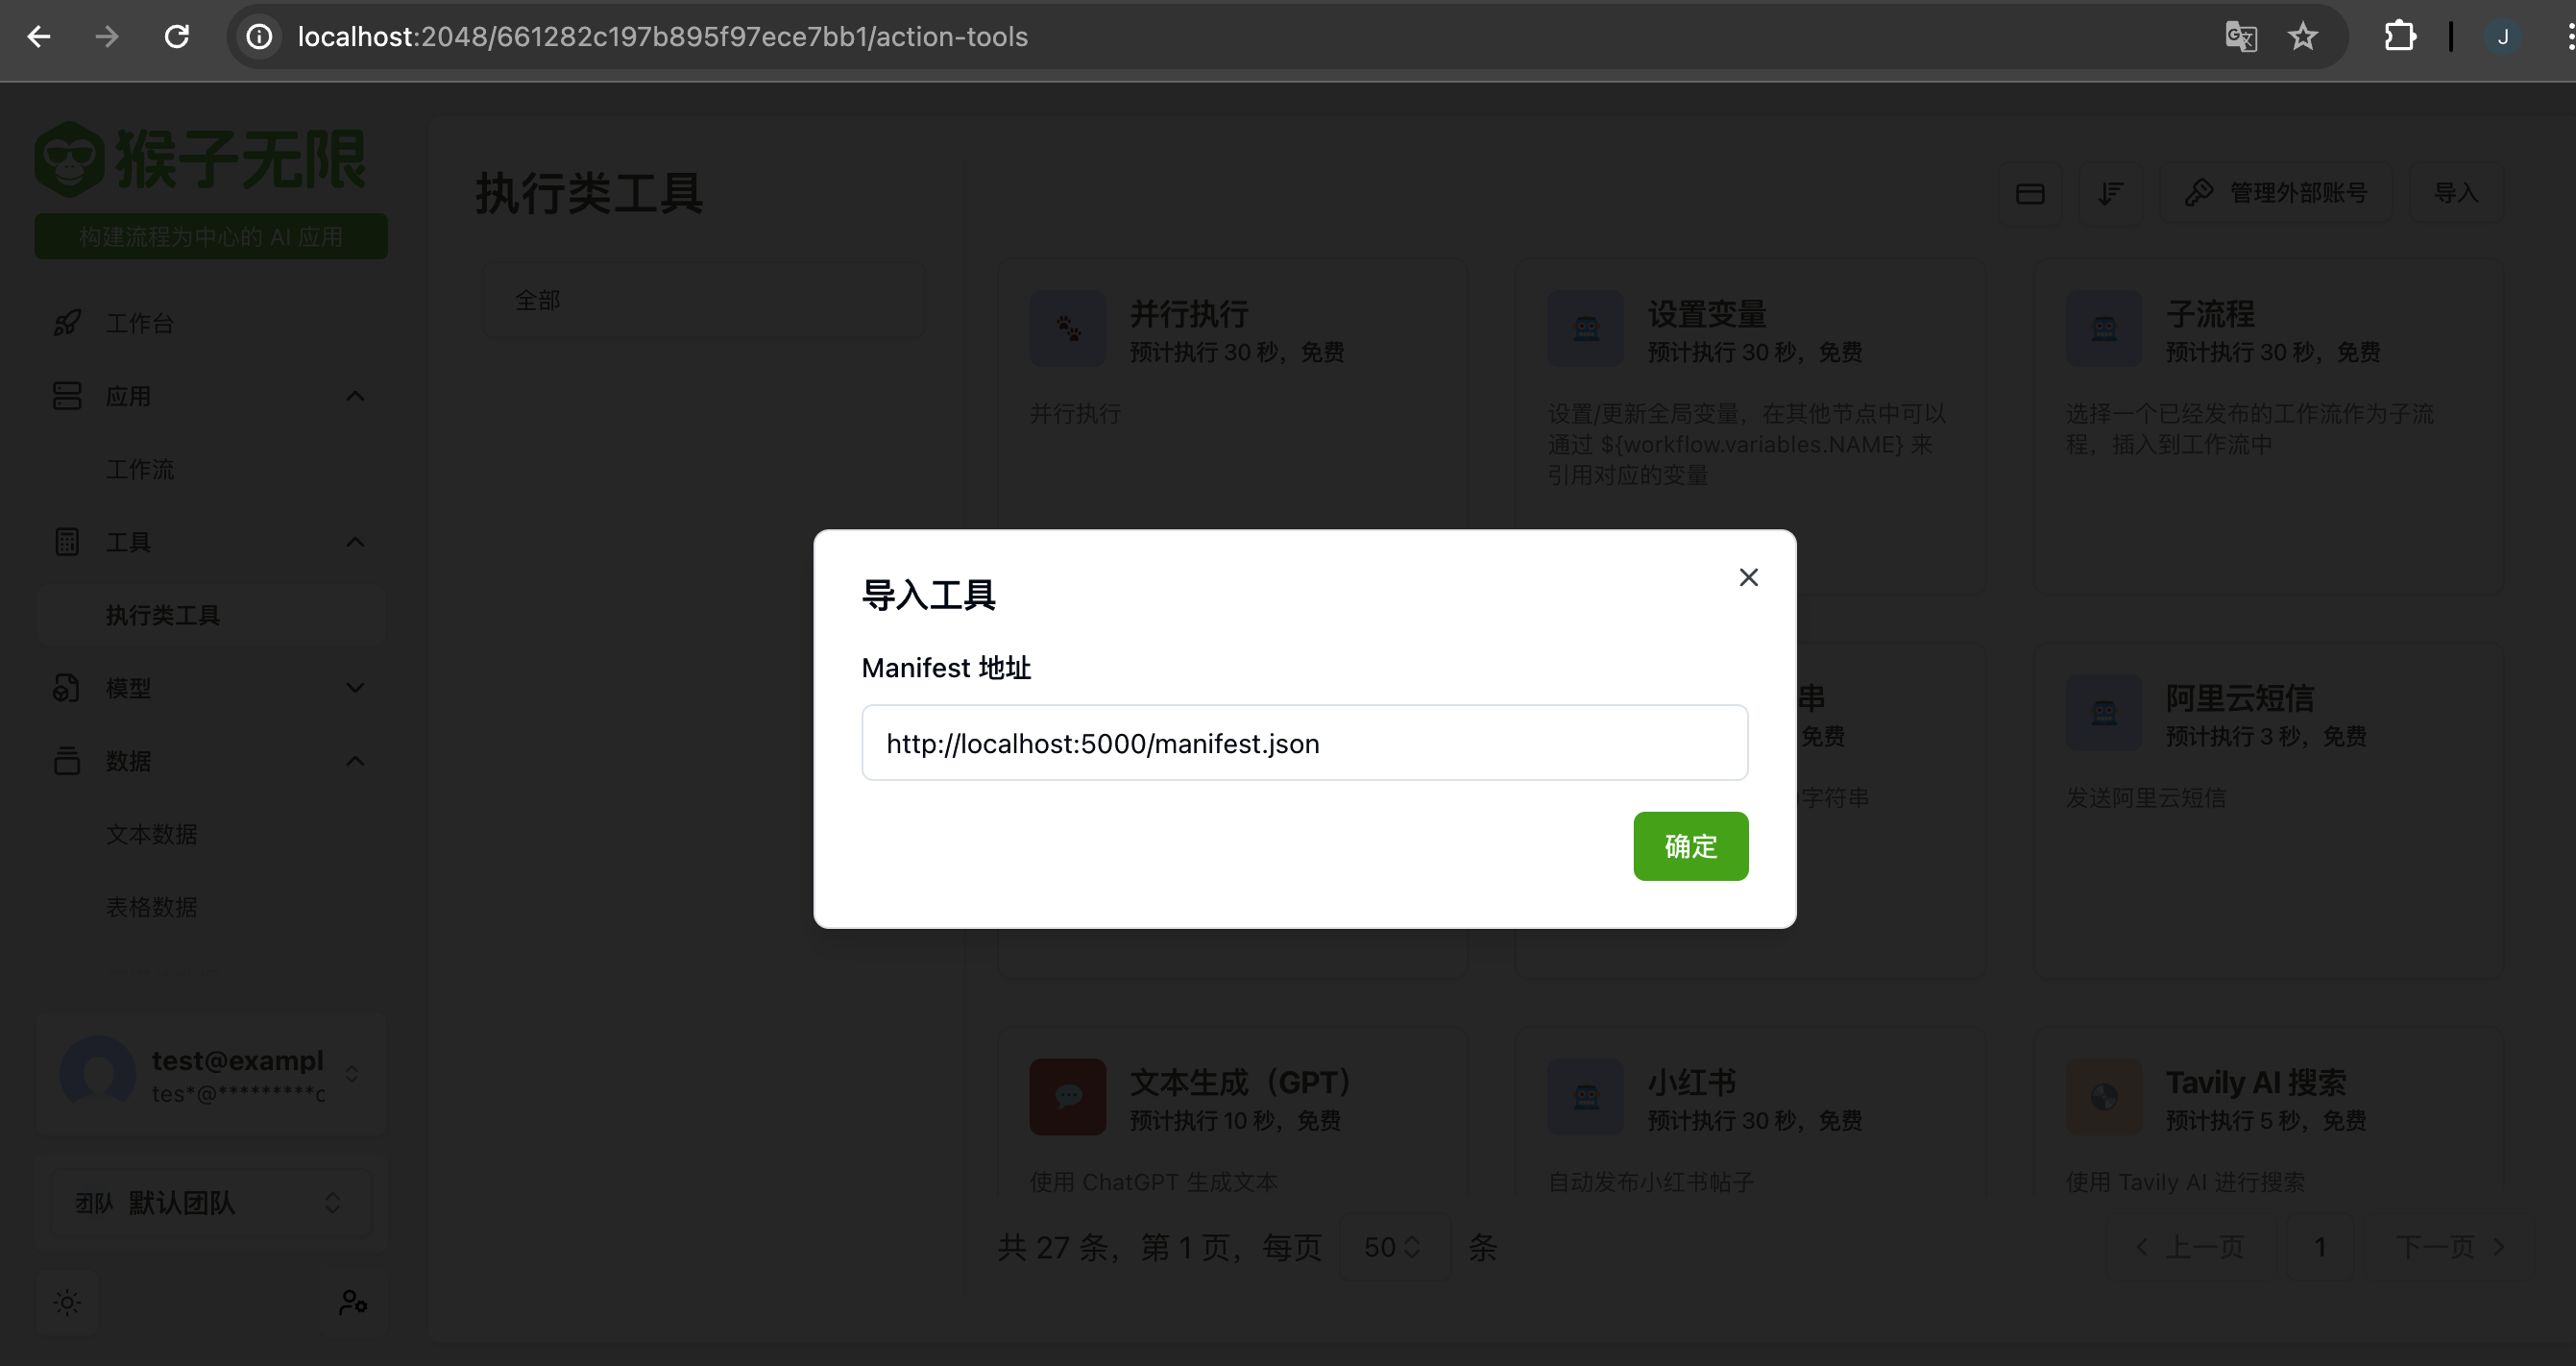
Import to Monkeys Platform
To import the tool into the Monkeys platform, simply provide the URL of the manifest JSON. In this example, the URL is http://localhost:5000/manifest.json.
After successful import, you should see your tool on the Monkeys platform.
Execute the workflow, and you should see your tool being successfully called.